

How To Clean a Juicer : And Have a Sparkling Clean Juicer

How to clean a juicer?
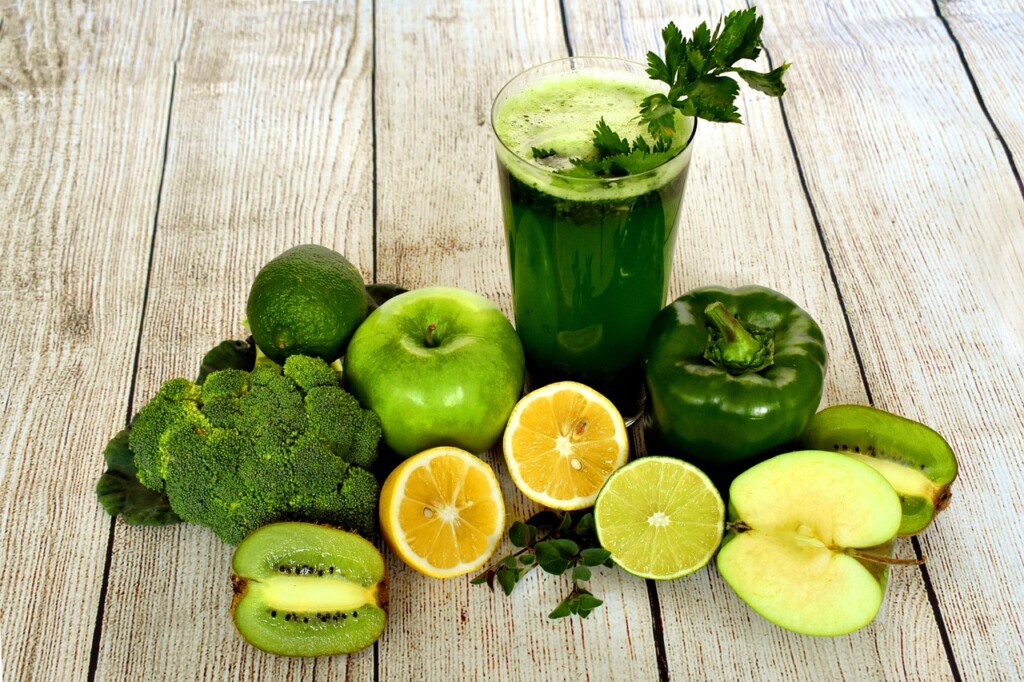
Juicing is a fantastic way to get your daily dose of fruits and vegetables. Not only is it a great way to add variety to your diet, but it’s also a healthy way to start your day.
However, with all the benefits of juicing comes the downside of cleaning your juicer.
Cleaning your juicer may seem like a daunting task, but with a few tips and tricks, you can have your juicer sparkling clean in no time.

Why Cleaning Your Juicer is Important
Cleaning your juicer after every use is essential to ensure that it stays in good condition and operates efficiently. Over time, leftover pulp and juice can build up in the machine, which can lead to clogs, damage, and mold growth.
Not only can this damage your machine, but it can also compromise the quality of your juice, making it less healthy to consume.
Therefore, it’s essential to make cleaning your juicer a part of your juicing routine. And learn how to clean a juicer.
How Often Should You Clean Your Juicer?
Ideally, you should clean your juicer after every use.
However, we understand that this may not always be possible. In that case, you should clean your juicer as soon as you can.
Leaving leftover pulp and juice in the machine for an extended period can make cleaning much more challenging and time-consuming.
How To Clean A Juicer : Steps by Step

Step 1: Unplug the Juicer
The first step in cleaning your juicer is to unplug it from the electrical outlet. This is important to avoid any accidental electric shock or damage to the machine.
Step 2: Disassemble the Juicer
Next, you’ll want to disassemble your juicer. This typically involves removing the pulp container, juicing chamber, and other detachable parts. Be sure to consult your juicer’s manual for specific instructions on how to disassemble your machine properly.
Step 3: Rinse the Detachable Parts
Once you’ve disassembled your juicer, the next step is to rinse the detachable parts with warm water. Be sure to use a soft sponge or brush to remove any remaining juice or pulp.
Avoid using abrasive materials that could scratch the machine’s surface. You can also use a mild soap to clean the parts, but be sure to rinse them thoroughly to remove any soap residue.
Step 4: Soak the Parts
After rinsing the detachable parts, you can soak them in warm, soapy water for 10 to 15 minutes. This will help loosen any remaining pulp or juice and make it easier to clean.

Step 5: Clean the Juicing Chamber
While the detachable parts are soaking, you can clean the juicing chamber. Use a soft brush or sponge to remove any remaining pulp or juice. You can also use a toothbrush to clean hard-to-reach areas. Be sure to clean the blades carefully to avoid any cuts.
Step 6: Rinse and Dry the Parts
After soaking the detachable parts, rinse them thoroughly with warm water and dry them with a clean towel. Be sure to dry them completely before reassembling your juicer to prevent any mold growth.
Step 7: Reassemble Your Juicer
Once all the parts are clean and dry, you can reassemble your juicer. Be sure to follow the manufacturer’s instructions carefully to avoid any damage to the machine.
Step 8: Wipe Down the Machine
After reassembling your juicer, wipe down the outside of the machine with a clean, damp cloth. This will remove any remaining residue or dirt and leave your juicer looking brand new.
Tips and Tricks for How to Clean a Juicer

-
Clean Your Juicer Immediately:
Cleaning your juicer immediately after use is the best way to ensure that it stays in good condition and operates efficiently. If you wait too long, the pulp and juice can dry and harden, making it much more challenging to clean.
To make cleaning easier, consider rinsing the detachable parts with warm water immediately after use before proceeding to a more thorough cleaning.
-
Use a Soft Brush or Sponge
When cleaning your juicer, it’s essential to use a soft brush or sponge to avoid scratching the machine’s surface. Avoid using steel wool, abrasive sponges, or harsh chemicals that could damage the machine.
-
Clean the Blades Carefully
The blades of your juicer are the most critical part of the machine. Therefore, it’s essential to clean them carefully to avoid any damage or cuts. Use a soft brush or toothbrush to clean the blades, being sure to avoid the sharp edges.
-
Soak the Detachable Parts
Soaking the detachable parts of your juicer in warm, soapy water is an effective way to loosen any remaining pulp or juice and make cleaning easier. Be sure to use a mild soap and rinse the parts thoroughly after soaking.
-
Dry Your Juicer Completely
After cleaning your juicer, be sure to dry it thoroughly before reassembling it. Any remaining moisture can lead to mold growth, which can compromise the quality of your juice and damage your machine over time. Use a clean towel to dry all the parts, and let them air dry for a few minutes before reassembling.
-
Clean Your Juicer Regularly
Cleaning your juicer after every use is essential, but it’s also important to give it a more thorough cleaning every few weeks. This involves taking apart all the detachable parts and cleaning them thoroughly with warm, soapy water.
This will help prevent any buildup of pulp or juice that can compromise the quality of your juice and damage your machine.
-
Use a Cleaning Solution
If your juicer has stubborn stains or buildup, you can use a cleaning solution to help remove them. There are several commercial cleaning solutions available, or you can make your own by mixing equal parts water and vinegar.
Be sure to rinse the parts thoroughly after using any cleaning solution.
So… How To Clean a Juicer?
Cleaning your juicer may seem like a tedious task, but it’s an essential part of maintaining your machine’s efficiency and ensuring that you get the most out of your juicing experience.
By following these tips and tricks, you can have your juicer sparkling clean in no time.
Remember to clean your juicer immediately after use, use a soft brush or sponge, soak the detachable parts, and dry your juicer completely before reassembling it.
By making cleaning your juicer a part of your juicing routine, you can enjoy healthy, delicious juice for years to come.